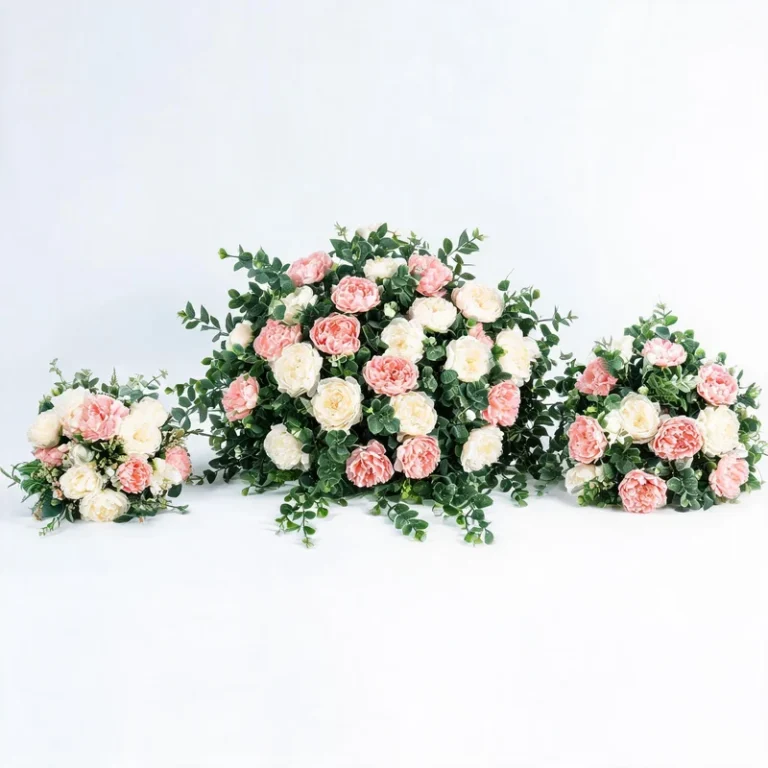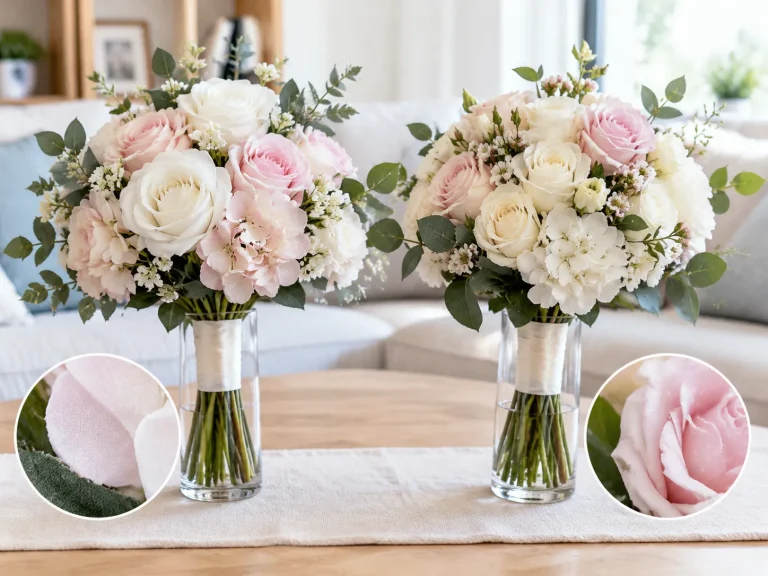
Why Choose Artificial Wedding Flowers for Your Big Day
Planning wedding florals involves balancing aesthetic vision, budget limits, and logistical timelines. Modern faux florals offer botanical accuracy, structural stability, and creative freedom without the stress of working with perishable stems. When you learn how to arrange artificial wedding flowers, you gain complete creative control over your event styling while securing long-lasting keepsakes.
Cost Savings and Longevity Compared to Fresh Flowers
Fresh blooms incur high seasonal markups, cold-chain transport fees, and mandatory assembly windows. High-grade faux blooms eliminate waste, hold their form in any climate, and offer exceptional return on investment.
| Feature | Fresh Wedding Flowers | Artificial Wedding Flowers |
|---|---|---|
| Budget Predictability | Fluctuates by season and market | Fixed upfront pricing with no hidden fees |
| Durability & Lifespan | Wilts within 24 to 48 hours | Indefinite; perfect for keepsakes or resale |
| Climate Sensitivity | Prone to wilting in extreme heat or cold | Weather-resistant for outdoor ceremonies |
| Allergy Impact | Carries active pollen and strong fragrances | 100% hypoallergenic and scent-free |
- Resale and Repurposing: High-end silk floral design elements retain substantial value, allowing you to resell your installations or repurpose centerpieces for home decor.
- No Last-Minute Substitutions: Off-season fresh blooms often result in unexpected florist substitutions; artificial selections guarantee the exact color, variety, and bloom stage you selected.
Benefits of Pre-Assembling and Customizing Faux Arrangements
Working with artificial flowers removes the strict 24-hour setup window required by live botanicals. You can construct, evaluate, and refine every piece months ahead of the ceremony.
- Stress-Free Timeline: Complete your bridal bouquet, centerpieces, and ceremony arches weeks in advance to avoid wedding-week panic.
- Effortless Adjustments: Faux wire stems allow for continuous reshaping, deconstructing, and re-arranging without tearing delicate petals or breaking stems.
- Consistent Color Palettes: Maintain precise color matching across all bouquets and reception tables, regardless of natural growing variations or seasonal availability.
- Seamless Destination Transport: Pack fully completed arrangements securely in standard shipping boxes without the need for water packs, floral coolers, or specialized refrigerated transport.
Essential Tools and Materials for Faux Floral Arranging
To arrange artificial wedding flowers like a professional florist, your foundation starts with the right materials and toolkit. Working with faux botanicals requires a specific set of supplies to ensure stems hold their shape, stay securely anchored, and look lifelike throughout your wedding day.
High-Quality Silk, Real-Touch, and Sola Wood Flowers
The realism of your silk floral design depends heavily on the grade of stems you select. Mixing different flower mediums creates authentic dimension and visual interest:
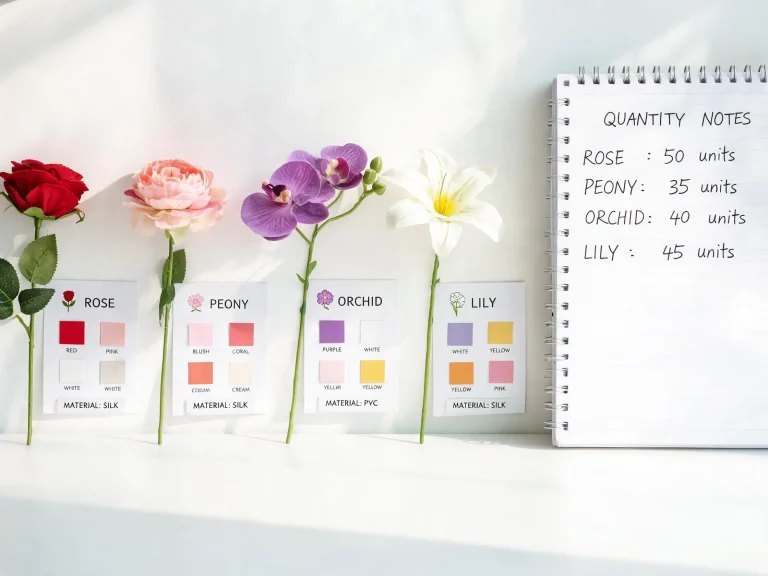
- Real-Touch Blooms: Made with a thin polyurethane or latex coating, these mimic the cool, velvety feel of fresh petals and work best for focal flowers like calla lilies, roses, and orchids.
- Silk and Fabric Flowers: Premium silk stems offer rich color variation and intricate petal layers. Learning how to clean and maintain silk flowers before assembling ensures every bloom looks fresh and free of dust or creases.
- Sola Wood Flowers: Crafted from natural tapioca wood, these lightweight options readily absorb custom dye to match your exact wedding color palette.
Must-Have Cutting, Bending, and Shaping Tools
Standard craft scissors will dull immediately against reinforced artificial stems. Keep these dedicated florist tools on hand:
- Heavy-Duty Wire Cutters: Essential for cutting through thick, steel-gauge inner wires cleanly without crushing the outer plastic coating.
- Needle-Nose Pliers: Used to bend, arch, and manipulate stiff wire stems so they drape naturally instead of sticking out rigidly.
- Garment Steamer: A quick blast of low steam instantly opens compacted faux blooms and removes packaging wrinkles from silk leaves.
- Hot Glue Gun: Secures loose heads, stabilizes sola wood stems, and fastens ribbons during the final assembly.
Arrangement Mechanics: Floral Foam, Tape, and Wire Grid
Professional florists rely on hidden structural mechanics to keep arrangements rigid, balanced, and stable throughout the event:
- Dry Floral Foam (Desert Foam): Unlike wet foam used for fresh flowers, dense dry floral foam provides a solid anchor for heavy artificial stems in urns, boxes, and compote bowls.
- Waterproof Floral Tape: Strong and stretch-activated, this binds hand-tied bridal bouquet stems tightly without slipping.
- Chicken Wire (Floral Netting): Crinkled into a ball inside table vessels, a wire grid allows for precise stem height ratios and dynamic angles.
- Cable Ties (Zip Ties): The fastest way to lock a heavy hand-tied bouquet into place before applying your decorative ribbon wrap.
Core Design Principles for Professional Floral Arrangements
Mastering the mechanics of faux floral styling requires a solid grasp of foundational design rules. When we design high-end wedding pieces, we follow specific artistic guidelines to ensure every faux stem looks intentional, balanced, and remarkably lifelike.
Understanding Color Palettes, Scale, and Proportion
Creating a cohesive look starts with choosing the right color palette and respecting stem proportions:
- Monochromatic with Depth: Stick to one core color family, such as ivory, but mix textures from pure white to warm cream and butter tones to prevent a flat appearance.
- Analogous Harmonization: Blend colors that sit next to each other on the color wheel (e.g., blush, dusty rose, and mauve) for an organic, smooth transition.
- The 1.5x Proportion Rule: The overall height of your arrangement should be roughly one and a half times the height of your vessel. For hand-tied bridal bouquets, the floral head diameter should complement the wearer’s waistline without overwhelming their silhouette.
Applying the 3-5-8 Rule for Natural Balance
Nature rarely grows in symmetrical pairs. To make your silk floral design look authentic rather than manufactured, structure your elements in odd numbers:
| Stem Count Category | Best Application | Visual Impact |
|---|---|---|
| 3 Stems | Large focal flowers (e.g., open garden roses, king proteas) | Anchors the visual center without clutter |
| 5 Stems | Secondary mid-sized blooms (e.g., ranunculus, peonies) | Creates rhythm and transitions eyes across the piece |
| 8+ Stems | Accent stems, filler florals, and textured greenery | Fills negative space and softens hard edges |
Vary the stem height ratio across these groupings. Avoid placing blooms at identical heights; step them up and down to create dimension and shadow.
Creating Focal Points and Textural Contrast
Every stunning arrangement needs a clear star and supporting cast:
- Establish the Focal Area: Position your largest, most intricate faux blooms slightly off-center at the heart of the design. This immediately draws the viewer’s eye.
- Layer Contrasting Textures: Contrast soft, wide petals with spiky greenery (like silver dollar eucalyptus or Italian ruscus), delicate filler buds, and velvety foliage.
- Embrace Negative Space: Leave small pockets between blooms. Crowding stems together flattens the piece and exposes the artificial nature of the materials.
Preparing Your Faux Flowers for Assembly
Before I build any bridal design, I take the time to prep every stem. Straight out of the packaging, faux blooms are stiff, compressed, and rigid. Taking a few minutes to manipulate the materials transforms them from flat factory pieces into lifelike, organic elements ready for professional styling.
Trimming and Bending Wire Stems Correctly
Natural flowers do not grow in straight, rigid lines, and your faux stems shouldn’t sit like that either. Prepping your stems properly sets the foundation for balanced depth and structure.
- Use Heavy-Duty Wire Cutters: Never use standard craft scissors. Cut through the thick inner wire cleanly using floral wire cutters to avoid jagged plastic edges.
- Vary Your Cutting Lengths: Cut your stems in stages rather than all at once. Establishing a varied stem height ratio early makes layering seamless during assembly.
- Strip the Lower Stems: Remove all plastic leaves and excess greenery from the bottom 3 to 4 inches. This keeps your binding point clean and prevents bulkiness when applying floral tape.
- Introduce Natural Curvature: Gently bend the wire stems with your fingers. Give secondary stems a slight arch and angle the bloom heads so they face outward naturally rather than pointing straight up.
Opening, Fluffing, and Shaping Petals and Leaves
Packaging inevitably crushes delicate fabric. Opening up your blooms restores their full volume and realistic texture before you place them into an arrangement.
- Work from the Outside In: For dense focal flowers like garden roses and peonies, gently roll back the outer petals first. Work layer by layer toward the center to create the look of a bloom in mid-open progress.
- Use Gentle Heat for Creases: If silk petals have hard folds, use a handheld garment steamer or a hair dryer on low heat for a few seconds. The heat relaxes the fabric, allowing you to reshape the petals instantly.
- Shape Foliage Leaves: Run your thumb and forefinger along the central spine of each leaf to give it a realistic upward cup and gentle twist.
- Separate Clustered Stems: Pull apart branch-style filler stems so each miniature blossom has room to breathe and catch the light naturally.
Step-by-Step Guide: How to Arrange Artificial Wedding Flowers
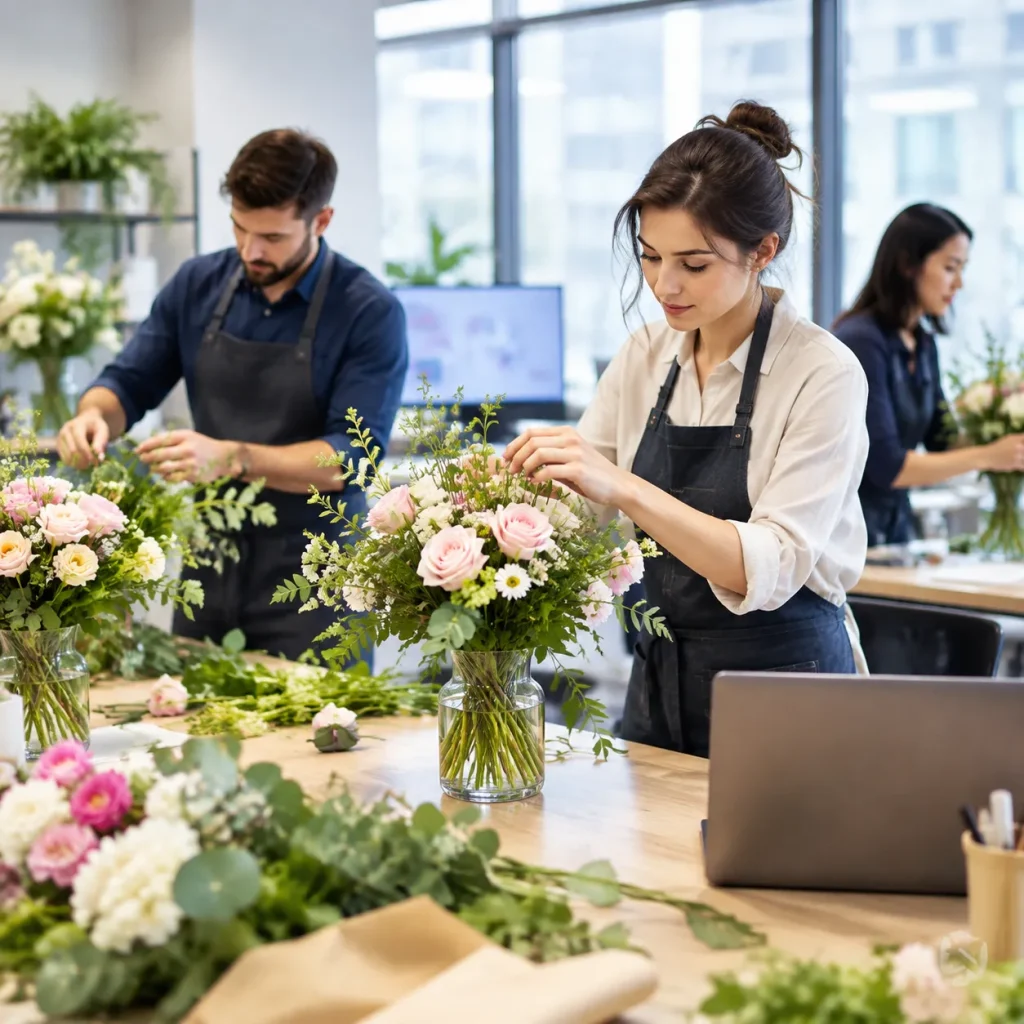
Creating high-end floral designs requires a systematic approach. When you arrange artificial wedding flowers with proper mechanics and layering techniques, you achieve an organic, balanced look that rivals fresh-cut stems.
Step 1: Build a Sturdy Greenery and Foliage Base
Every great silk floral design starts with a structural foliage foundation. Whether you are assembling a hand-tied bridal bouquet or securing stems into floral foam for a centerpiece, the greenery base dictates the overall shape, width, and perimeter of your piece.
- Set the Framework: Use sturdy foliage like seeded eucalyptus, Italian ruscus, or fern fronds to map out the outer boundaries.
- Establish the Angle: Angle the outer stems outward and downward slightly to hide the mechanics of your vessel or handle.
- Create a Resting Web: Crisscross the stems to form a natural lattice. This green grid provides physical support, holding subsequent blooms firmly in place.
Step 2: Position Your Statement Focal Flowers
Once your green foundation is secure, introduce your primary statement blooms. These are your largest, most visually striking wedding artificial flowers, such as open garden roses, peonies, or blooming dahlias.
- Apply the Rule of Odds: Place focal blooms in groupings of three or five to maintain an organic, asymmetrical balance.
- Vary the Stem Height Ratio: Avoid pushing all the flower heads down to the same level. Stagger their heights so some sit slightly deeper in the foliage while others extend outward to build real visual depth.
- Direct the Eye: Position your main hero flower slightly off-center at the visual core of the arrangement, facing forward and slightly upward.
Step 3: Add Secondary Blooms and Filler Flowers
Secondary flowers bridge the visual gap between your heavy focal blooms and the foliage background. Medium-sized faux blooms, such as spray roses, ranunculus, and lisianthus, soften transitions and distribute your chosen color palette evenly.
- Turn as You Work: Continuously rotate your arrangement to ensure balanced coverage from every viewing angle.
- Tuck and Cluster: Nest secondary stems in the open spaces around the focal blooms, angling them naturally as if they are growing toward the light.
- Prevent Crowding: Leave breathing room around each flower head so individual textures remain visible rather than bunched together.
Step 4: Incorporate Texture, Height, and Finishing Flourishes
The final layer gives the arrangement movement, lightness, and florist-grade sophistication. Delicate filler elements break up rigid outlines and lend a soft, airy finish.
- Introduce Fine Textures: Weave in delicate accents such as astilbe, waxflower, hypericum berries, or airy baby’s breath.
- Create Upward and Cascading Movement: Extend dynamic sprigs outward beyond the main silhouette to mimic natural, spontaneous growth.
- Secure the Structure: Lock the arrangement into place using waterproof floral tape or binding wire, ensuring every stem is firmly anchored before final styling.
Pro Secrets to Make Fake Flowers Look Realistic
Transforming faux blooms into breathtaking arrangements that fool even the closest onlookers comes down to subtle styling techniques. When we arrange artificial wedding flowers, our goal is to mimic nature’s organic irregularities and eliminate the rigid, manufactured look.
Mixing in Real Greenery and Natural Elements
One of the most effective tricks we use is integrating fresh or preserved foliage with premium faux stems. Blending fresh silver dollar eucalyptus, salal leaves, or dried textures like bunny tails instantly adds a natural scent and organic texture. Choosing the right bloom construction is equally crucial; understanding the subtle differences between real touch vs silk wedding flowers ensures your faux focal points blend seamlessly alongside authentic botanical greenery.
Creating Imperfection and Natural Movement
Fresh botanical stems never grow in rigid, perfectly straight lines. To give your silk floral design an authentic, high-end feel, intentionally build in asymmetry and movement:
- Curve the wire stems: Gently bend each stem below the flower head to mimic the natural pull of gravity.
- Vary the stem heights: Avoid placing blooms on a flat plane. Stagger heights so some flowers nestle deep into the greenery base while lighter accent blooms “float” slightly higher.
- Angle bloom faces: Turn individual flower heads slightly to the left, right, or downward rather than pointing every bloom straight forward.
- Mix open stages: Combine tight buds, semi-open blossoms, and full-blown blooms to recreate the lifecycle of a real garden harvest.
Adding Acrylic Water to Clear Glass Vases
If you are designing reception centerpieces in transparent vessels, visible bare wire stems instantly give away the illusion. We solve this by pouring clear floral setting resin (acrylic faux water) into the base of the glassware. When weighing the overall aesthetic in fake vs real wedding flowers, this faux water technique provides the crystal-clear appearance of freshly trimmed stems in water while permanently locking your arrangement mechanics in place.
How to Style Different Types of Wedding Floral Arrangements
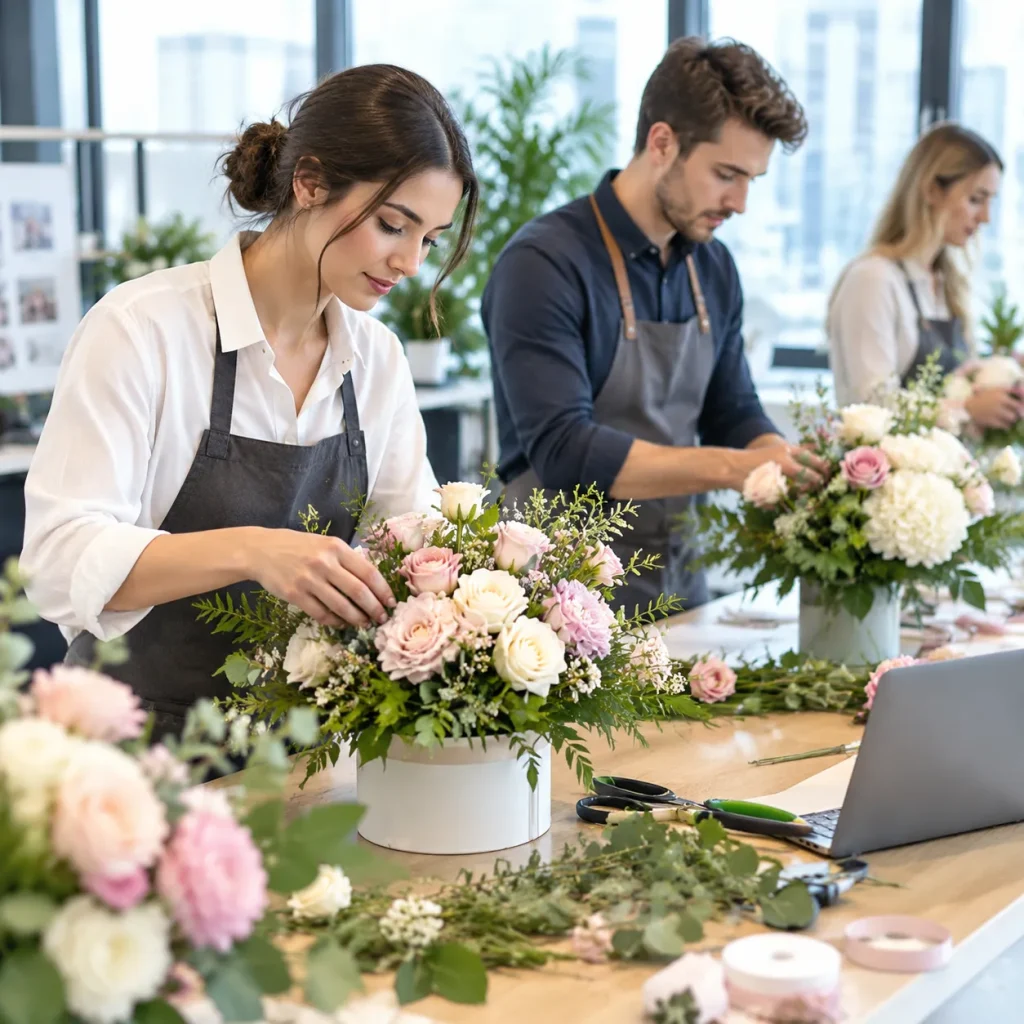
Mastering how to arrange artificial wedding flowers like a professional florist means tailoring your mechanics to each specific display. Whether building personal handheld pieces or large-scale venue decor, using the right structural foundation ensures your faux blooms hold their shape all day.
Hand-Tied DIY Bridal and Bridesmaid Bouquets
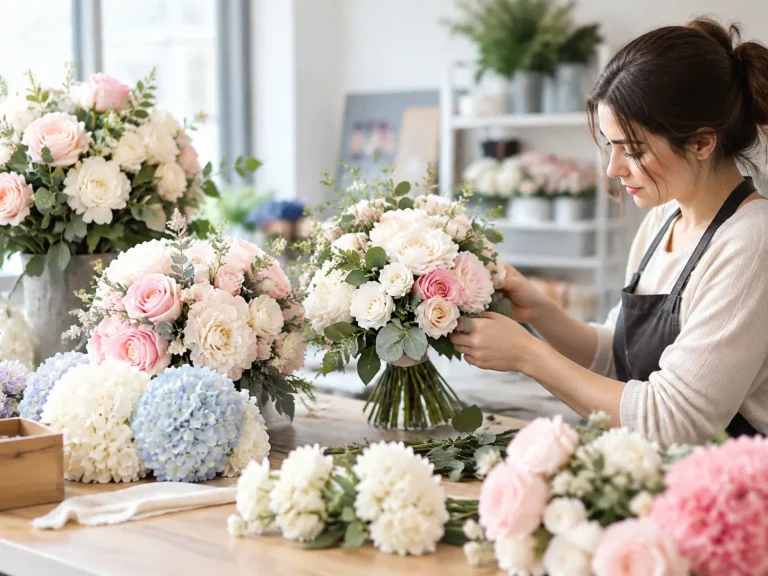
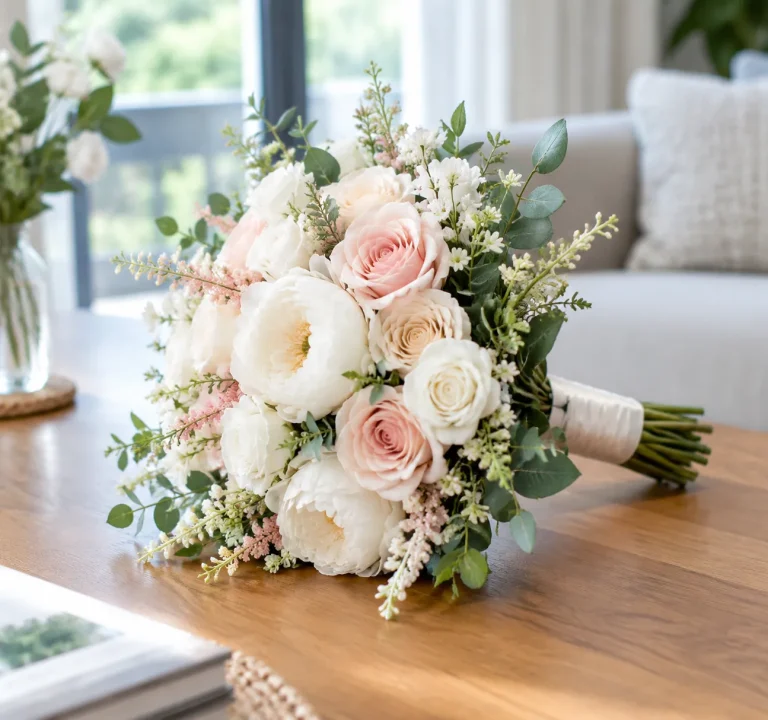
Creating a balanced bridal bouquet requires building from the center outward using a spiral hand-tied technique. Start with three to four statement blooms held at a slight angle, rotating the bunch as you introduce accent stems and foliage.
- Stem Placement: Angle every added stem in the same diagonal direction around the core to create a natural, rounded dome.
- Material Selection: Mix textures using our guide on artificial bridal bouquets: real-touch vs silk to achieve realistic movement and petal softness.
- Handle Finishing: Bind tightly with floral tape at the natural grip point, trim the wire stems evenly, and wrap with satin ribbon secured by pearl pins.
| Bouquet Type | Recommended Stem Count | Primary Focal Flowers | Foliage Ratio |
|---|---|---|---|
| Bridal Bouquet | 25–35 stems | Garden Roses, Peonies, Dahlias | 30% Greenery Base |
| Bridesmaid Bouquet | 12–18 stems | Standard Roses, Ranunculus | 40% Greenery Base |
| Toss Bouquet | 8–12 stems | Spray Roses, Lisianthus | 30% Greenery Base |
Elevated Reception Table Centerpieces
Elevated centerpieces keep sightlines clear across guest tables while adding vertical drama to high-ceiling venues. To secure silk floral designs on tall risers or trumpet vases, rely on dense dry floral foam anchored inside a designated design dish.
- Establish the Perimeter: Insert drooping greenery like hanging amaranthus or seeded eucalyptus around the rim to drape over the stand edges.
- Build Upward and Outward: Insert your central focal flowers at varying heights to establish a balanced 360-degree viewing angle.
- Fill Voids: Pack secondary blooms and airy filler flowers into any gaps so the foam base remains completely hidden from seated guests below.
Boutonnieres, Corsages, and Ceremony Arches
Smaller personal florals and massive architectural installations require distinct fastening mechanics to stay secure throughout the event.
- Boutonnieres: Pair a single mini focal bud with one sprig of texture (such as astilbe or waxflower) and a small leaf. Bind the stems tightly using green floral tape, then trim the bottom to roughly 1.5 inches.
- Wrist Corsages: Secure lightweight faux blossoms directly onto a decorative wrist cuff using floral adhesive or discreet gauge wire, keeping the profile low to prevent catching on fabric.
- Ceremony Arches: Build modular floral foam cages pre-filled with faux greenery and blooms. Attach these cages directly to the arch framework using heavy-duty zip ties, angling corner clusters toward the center for a cohesive frame.
Frequently Asked Questions About DIY Artificial Wedding Flowers
How far in advance can I make artificial wedding flower arrangements?
You can assemble your arrangements 3 to 6 months in advance—or even up to a year ahead if your design plan is finalized. Unlike fresh stems, faux florals do not wilt, lose moisture, or degrade over time. Once you arrange artificial wedding flowers, store them properly to keep them pristine:
- Keep away from sunlight: Direct UV exposure can cause dyed fabrics to fade.
- Use covered storage: Place finished bouquets and centerpieces inside sturdy plastic containers or upright inside breathable garment bags.
- Maintain temperature control: Store them in a climate-controlled room rather than a humid basement or hot attic to protect hot-glued joints and floral adhesives.
How many stems do I need for a bridal bouquet?
A standard full-sized bridal bouquet requires between 20 to 35 stems, depending on the head diameter of your blooms and the overall fullness you want to achieve. When selecting quality artificial flowers, I recommend breaking down your stem count using this structural ratio:
- Focal blooms (5–8 stems): Large-headed flowers such as open garden roses, peonies, or magnolias.
- Secondary flowers (8–12 stems): Medium blooms like standard roses, ranunculus, or lisianthus to fill the body.
- Filler and textural elements (5–8 stems): Delicate stems such as astilbe, waxflower, or berries to create visual depth.
- Greenery and foliage base (6–10 stems): Supporting greens like silver dollar eucalyptus, Italian ruscus, or olive branches to frame the silhouette.
How do I clean and store faux wedding flowers after the event?
Post-wedding floral maintenance ensures your arrangements remain vibrant keepsakes or ready for resale. Follow these simple steps to refresh and protect your stems:
- Dust removal: Use a hairdryer on its cool, low setting or a can of compressed air held 12 inches away to blow off surface dust and debris.
- Spot cleaning: Wipe down fabric petals and plastic stems with a damp microfiber cloth. For stubborn residue, lightly mist with a gentle water-and-dish-soap solution and let air dry completely.
- Long-term storage: Wrap bouquet handles in acid-free tissue paper and store the pieces upright in rigid storage totes lined with clean packing paper to prevent crushing.